Shape Detector
This is a simple tool that predicts drawing drawn on the canvas. It uses CNN to recognize the drawings. The CNN in trained on Quick, Draw! dataset. Trained model’s weights are used to make inference on the browser using Tensorflow.js.
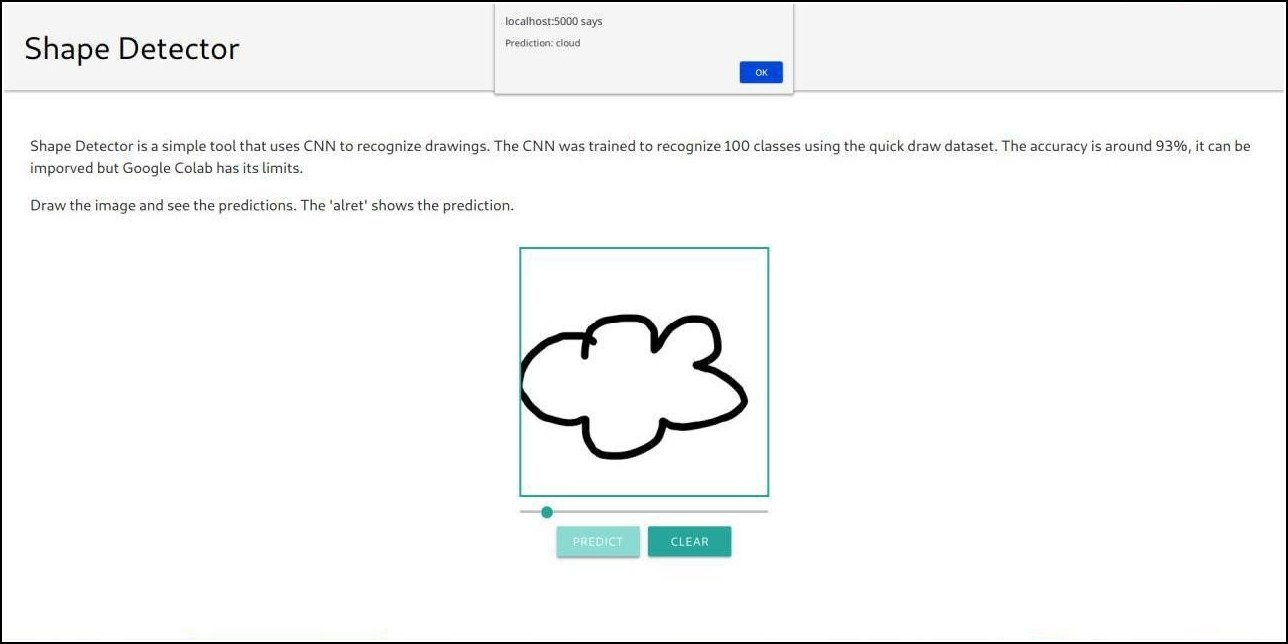
You can find the demo here and source code here.
Model
The Model will be using Keras with Tensorflow backend. The Model was built with Sequential Api of Keras followed which the Model and weights are converted into Tensorflow.js. Here are the steps that we would follow as to build our model :-
We will be working on only
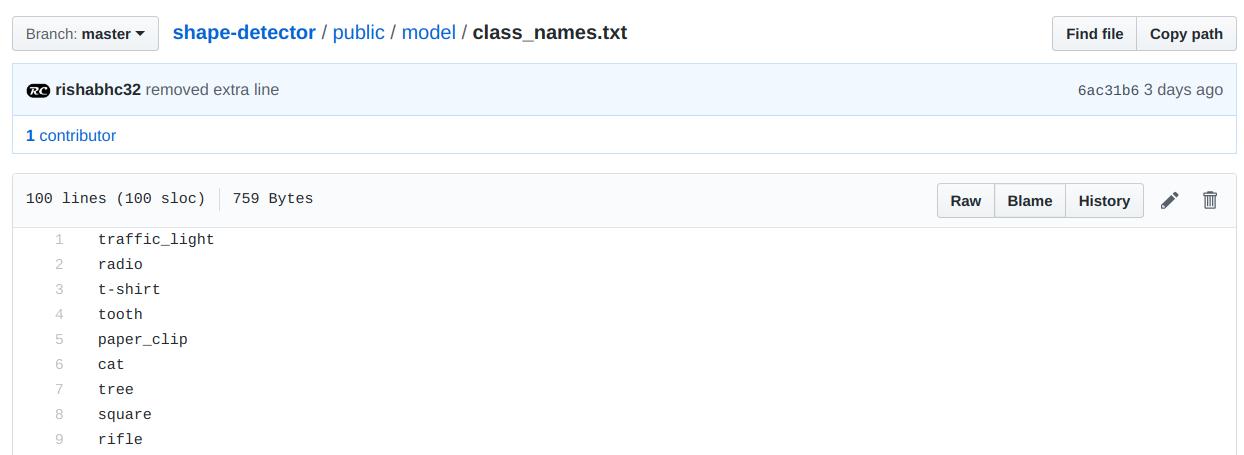
100 classesdue to limited resources. Data onGoogle cloudincludes345 classesSo to fetch only 100 classes we will download a text file namedmini_classes.txt. To do so linux user can directly download it viawgetwhere others can directly go to the link and save the file withCtrl+s.wget -O mini_classes.txt https://raw.githubusercontent.com/rohit3463/shape-detector/master/public/mini_classes.txt
The mini_classes.txt file and the python file should be in the same directory.
Importing the essential packages.
import os
import glob
import numpy as np
from tensorflow.keras import layers
import tensorflow as tf
from tensorflow import keras
import urllib.request
import tensorflowjs as tfjs
import shutil
Downloading the Data from
GCP.f = open("mini_classes.txt","r") # And for reading use classes = f.readlines() f.close() classes = [c.replace('\n','').replace(' ','_') for c in classes] os.makedirs('data') def download(): base = 'https://storage.googleapis.com/quickdraw_dataset/full/numpy_bitmap/' for c in classes: cls_url = c.replace('_', '%20') path = base+cls_url+'.npy' print(path) urllib.request.urlretrieve(path, 'data/'+c+'.npy') download() def load_data(root, vfold_ratio = 0.2, max_items_per_class = 5000): #all_files will contain list of all the files in data directory. all_files = glob.glob(os.path.join(root,'*.npy')) #initialize the variables with empty arrays and list respectively. x = np.empty([0, 784]) y = np.empty([0]) classes = [] #enumerate all the files then load each file in a numpy array following which it is concatenated to the x and y arrays. for idx, files in enumerate(all_files): data = np.load(files) data = data[0:max_items_per_class,:] labels = np.full(data.shape[0],idx) x = np.concatenate((x, data), axis = 0) y = np.append(y,labels) class_name, ext = os.path.splitext(os.path.basename(files)) classes.append(class_name) data = None labels = None #shuffle the data. permutation = np.random.permutation(y.shape[0]) x = x[permutation,:] y = y[permutation] #prepare the testing and training set. vfold_size = int(x.shape[0]/100*(vfold_ratio*100)) x_test = x[:vfold_size,:] y_test = y[:vfold_size] x_train = x[vfold_size:x.shape[0],:] y_train = y[vfold_size:y.shape[0]] #return the test and train sets along with their classes return x_test, y_test, x_train, y_train, classes x_test, y_test, x_train, y_train, class_names = load_data('data') num_classes = len(class_names) image_size = 28Preprocessing is a very important step. It is the way we prepare the ingredients to be added to our dish by washing, cutting veggies. Our model takes training data of shape
[N, 28, 28, 1].#reshaping the data into [N, 28, 28, 1] x_train = x_train.reshape(x_train.shape[0], image_size, image_size, 1).astype('float32') x_test = x_test.reshape(x_test.shape[0], image_size, image_size, 1).astype('float32') #normalizing the data x_train /= 255.0 x_test /= 255.0 #changing targets to categorical among 100 classes y_train = keras.utils.to_categorical(y_train, num_classes) y_test = keras.utils.to_categorical(y_test, num_classes)Finally, the wait is over. Now, we will build our sequential model using simple
CNNalong with someMaxpool layersto extract the best features.In the end, we will be usingfully connected layersto shape the output into 100 classes. Here comes the model:-model = keras.Sequential() model.add(layers.Convolution2D(16, (3, 3), padding='same', input_shape=x_train.shape[1:], activation='relu')) model.add(layers.MaxPooling2D(pool_size=(2, 2))) model.add(layers.Convolution2D(32, (3, 3), padding='same', activation= 'relu')) model.add(layers.MaxPooling2D(pool_size=(2, 2))) model.add(layers.Convolution2D(64, (3, 3), padding='same', activation= 'relu')) model.add(layers.MaxPooling2D(pool_size =(2,2))) model.add(layers.Flatten()) model.add(layers.Dense(128, activation='relu')) model.add(layers.Dense(100, activation='softmax')) adam = tf.train.AdamOptimizer() model.compile(loss='categorical_crossentropy', optimizer=adam, metrics=['top_k_categorical_accuracy']) print(model.summary()) model.fit(x = x_train, y = y_train, validation_split=0.1, batch_size = 256, verbose=2, epochs=5)Evaluating the model describes how well our model performes. This is where test test will come in use.
score = model.evaluate(x_test, y_test, verbose=0)
print(score[1])
Saving the model by importing into
tensorflow.js.#converting the model into tensorflow.js and saving into a folder named 'SavedModel'. tfjs.converters.save_keras_model(model, './SavedModel') #writting all the class_names into a text file. with open('class_names.txt', 'w') as file_handler: for item in class_names: file_handler.write("{}\n".format(item)) #copying the class_names.txt file into our Model and then zipping it. shutil.copy('class_names.txt', './SavedModel') shutil.make_archive('Model', 'zip', 'SavedModel')
That’s it for the model. The model was actually trained on Google Colab where it took around 25-30 mins to train the model. Now, proceeding to the frontend.
Frontend
The frontend is written in Vue.js using single-file components. The weights obtained from the training part are used for inference via Tensorflow.js. The boilerplate for vue is generated via vue-cli using only the babel plugin. Fabric.js is used for canvas drawing and management. It is a simple and powerful HTML canvas library. I am assuming that you have a working knowledge of Vue.js.
Root
└───App
    │   Title
    │   Description
    └───Canvas
            RangeSlider
            CustomButton
            CustomButton
We have the above components with hierarchy.
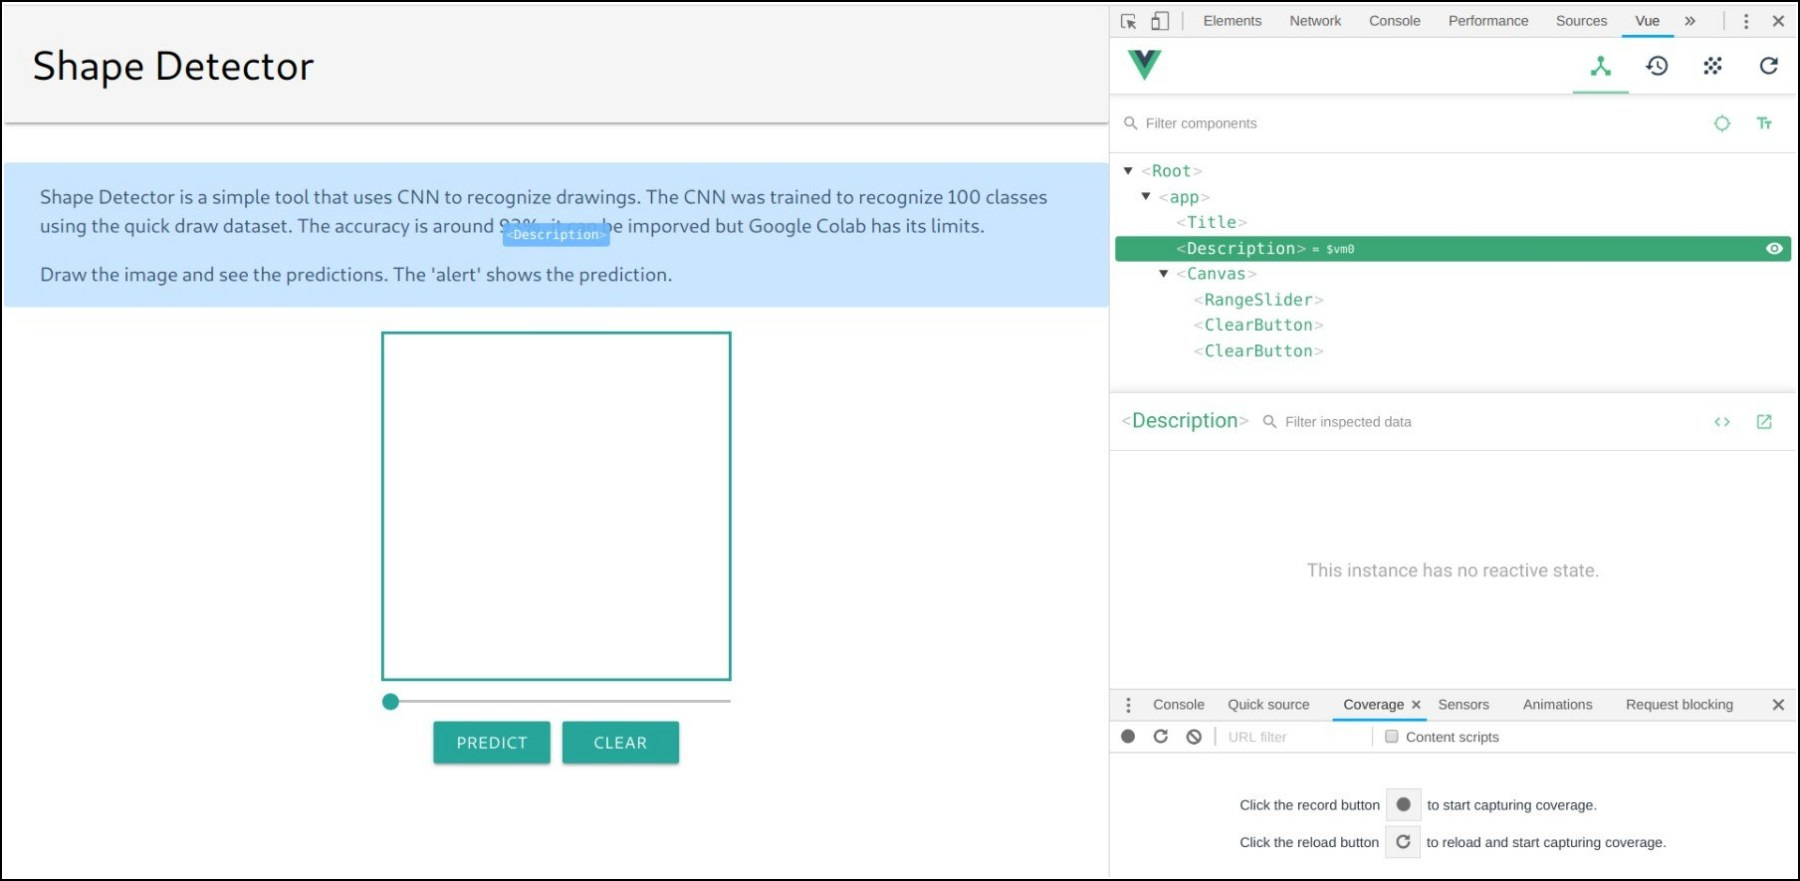
‘ClearButton’ in the image should have been ‘CustomButton’.
- ‘Title’ and ‘Description’ are simple components and do not need explanation.
- The CustomButton component emits a
ButtonClickevent when clicked. Text in the button can be set in the parent component using a buttonText prop. - The RangeSlider component emits an event
sliderInputwith slider’s current value as the event’s argument.
import * as tf from '@tensorflow/tfjs'

Vue.config.productionTip = false

new Vue({
    render: h => h(App),
    mounted: async function() {
        let model = await tf.loadModel('model/model.json') // load model weights
        Vue.prototype.$model = model

        let res = await fetch('model/class_names.txt') // load class_name file
        let text = await res.text()
        Vue.prototype.$classArray = text.split('\n')
Model weights and class_name file(file which tells class name corresponding to index) are loaded when the Root vue component is mounted. Vue.prototype.$model and Vue.prototype.$classArray are set so that they can be directly use in other components with this.$model and this.$classArray.
Loading model weights when ‘Root’ vue component in mounted, results in slow loading of the web page and long wait before First Meaningful Paint. This can be avoided by loading them after all components have been rendered, but I am too lazy to change the code once it has been written.
The Canvas component
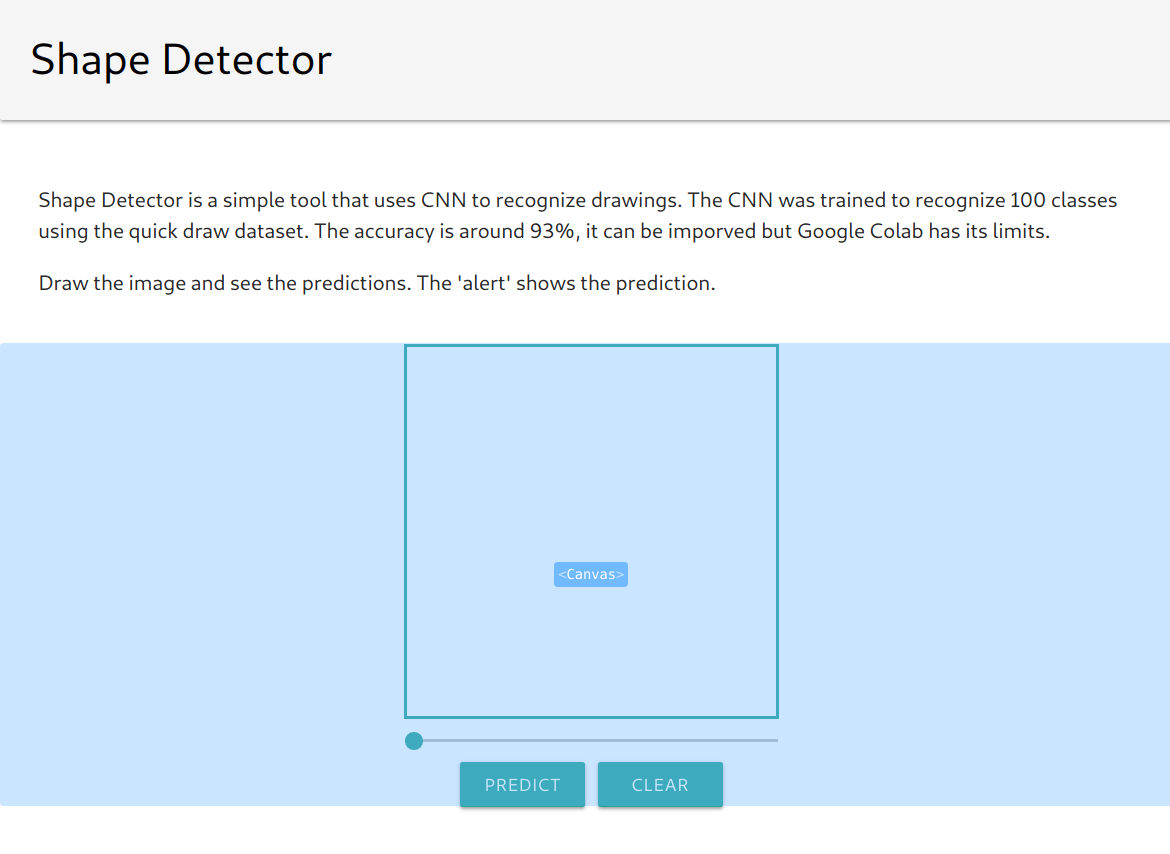
This is the component where most of the frontend logic lies. The canvas size is set to 300x300 pixels.
data: function() {
    return {
        fabricCanvas: null,
        canvasContext: null,
        sliderStyle: {
            width: '300px',
            margin: 'auto',
        }
    }
}
The data object in Canvas component has following properties:
- fabricCanvas – Current fabric canvas object
- canvasContext – The
canvaselement’s 2D rendering context - sliderStyle – It is
RangeSliderprop object bound to itsstyleattribite
Then we have setSliderValue, clearCanvas and maxIndex methods to set canvas’ brush size, to clear the canvas and return index with maximum probability in an array respectively.
– Set background of canvas as white(
#ffffff) after every clear operation else it will give wrong prediction everytime, as canvas’ default background is transparent.
–fabricCanvas.backgroundColor = '#ffffff'
preprocessImage: function(imgData) {
    return tf.tidy(()=>{
        let tensor = tf.fromPixels(imgData, 1) // convert the image data to a tensor

        // resize to 28 x 28
        const resized = tf.image.resizeBilinear(tensor, [28, 28]).toFloat()

        // Normalize the image
        const offset = tf.scalar(255.0)
        const normalized = tf.scalar(1.0).sub(resized.div(offset))

        // insert a dimension of 1 into a tensor's shape
        const batched = normalized.expandDims(0)
        return batched
    })
}
In preprocessImage function, we take the current image from the canvas, convert it to a tensor, resize and normalize it. Finally, we add a dimension of 1 to get the batch shape.
predictImage: function() {
    // get the image from canvas
    let image = this.canvasContext.getImageData(0, 0, this.fabricCanvas.getWidth(), this.fabricCanvas.getHeight())

    // preprocess the image and prediction
    let pred = this.$model.predict(this.preprocessImage(image)).dataSync()

    // get array index with max probability
    let maxIndex = this.maxIndex(pred)
    alert("Prediction: " + this.$classArray[maxIndex])
}
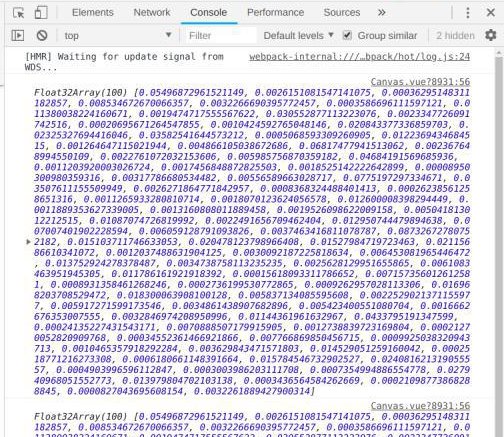
model.predict returns the probabilities of each class. The prediction array(pred) has 100 elements. We show classArray[maxIndex] as the prediction to shape drawn in the canvas.
Testing
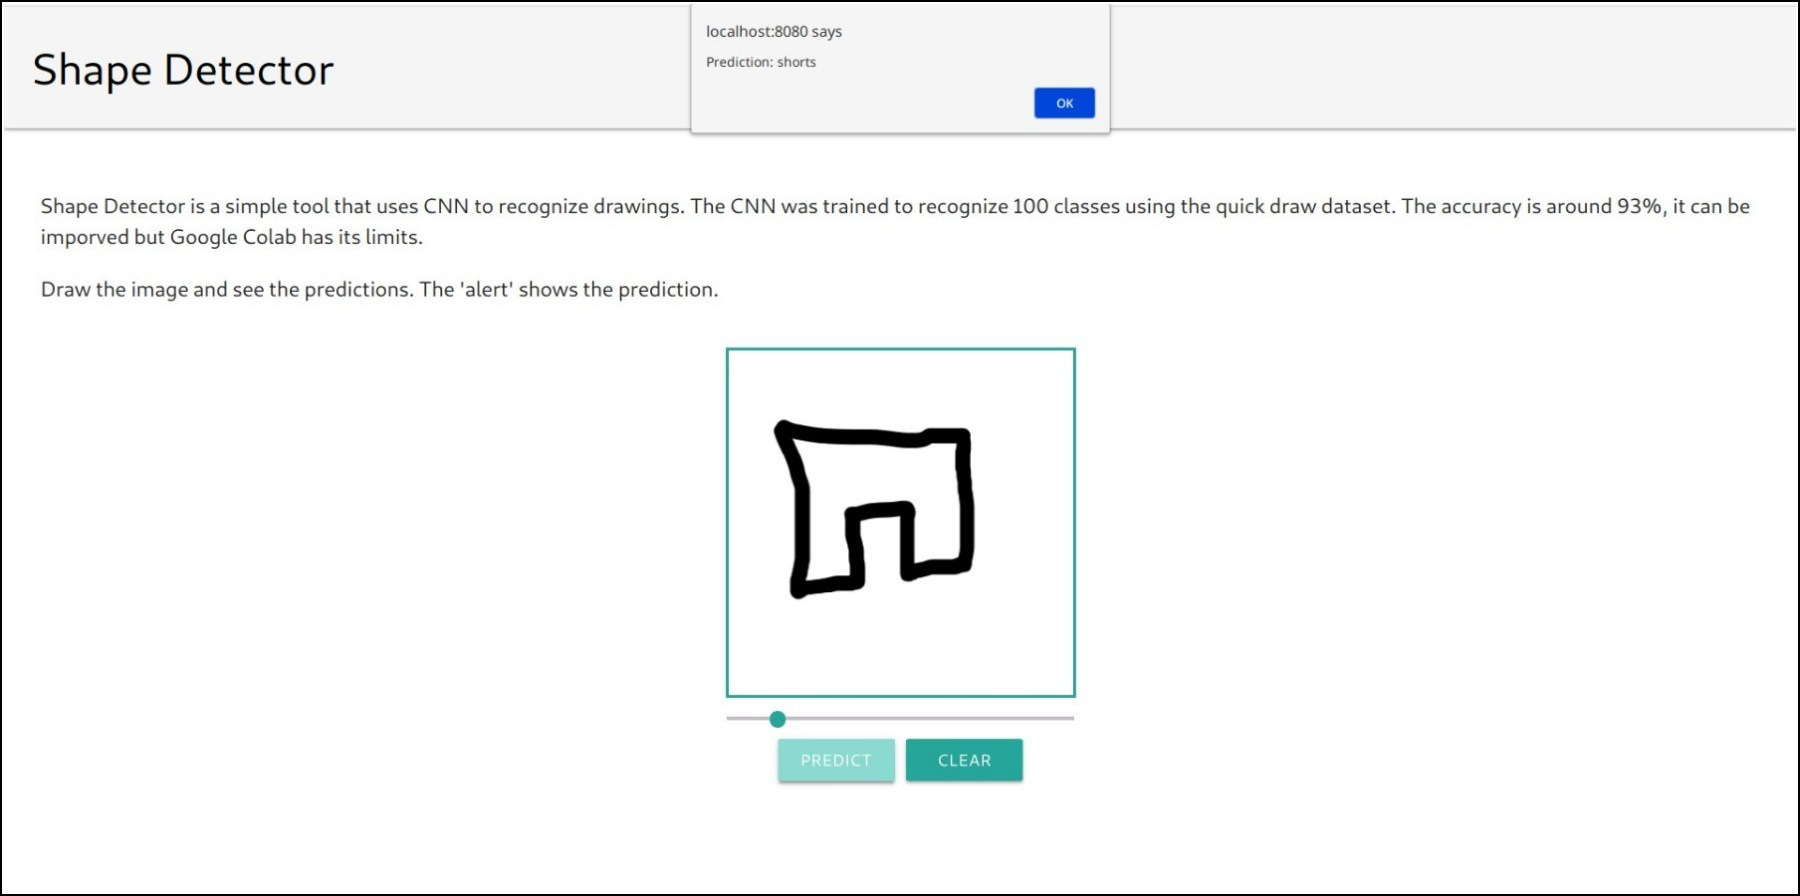 Prediction: shorts
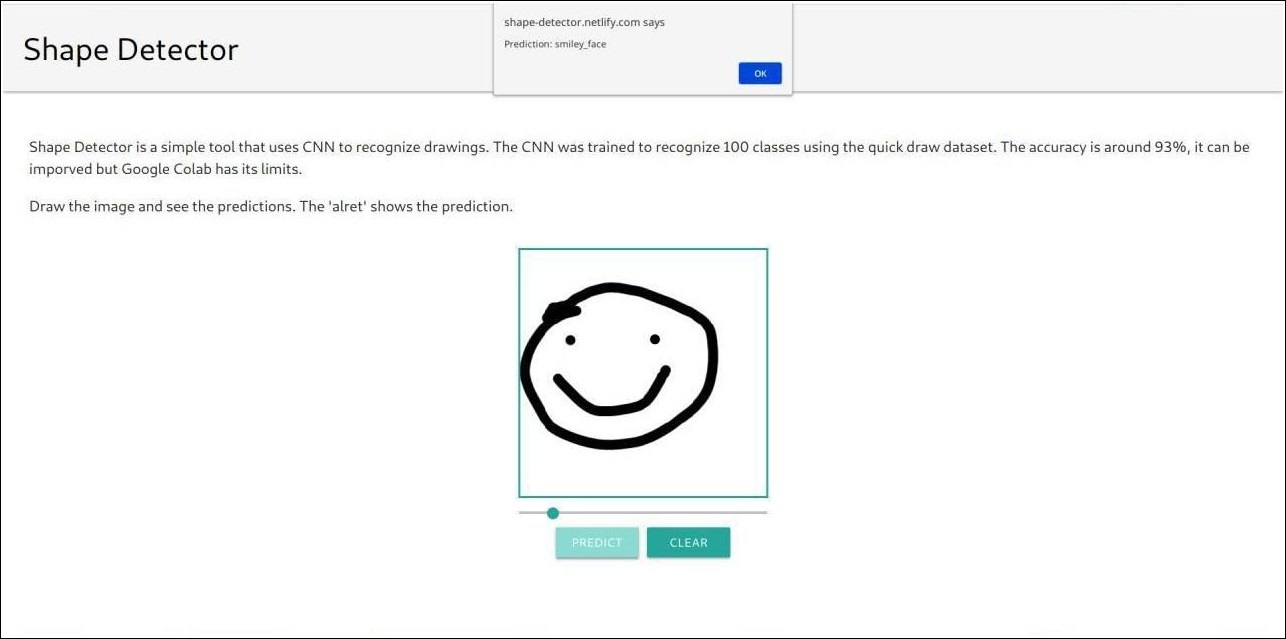 Prediction: smiley_face
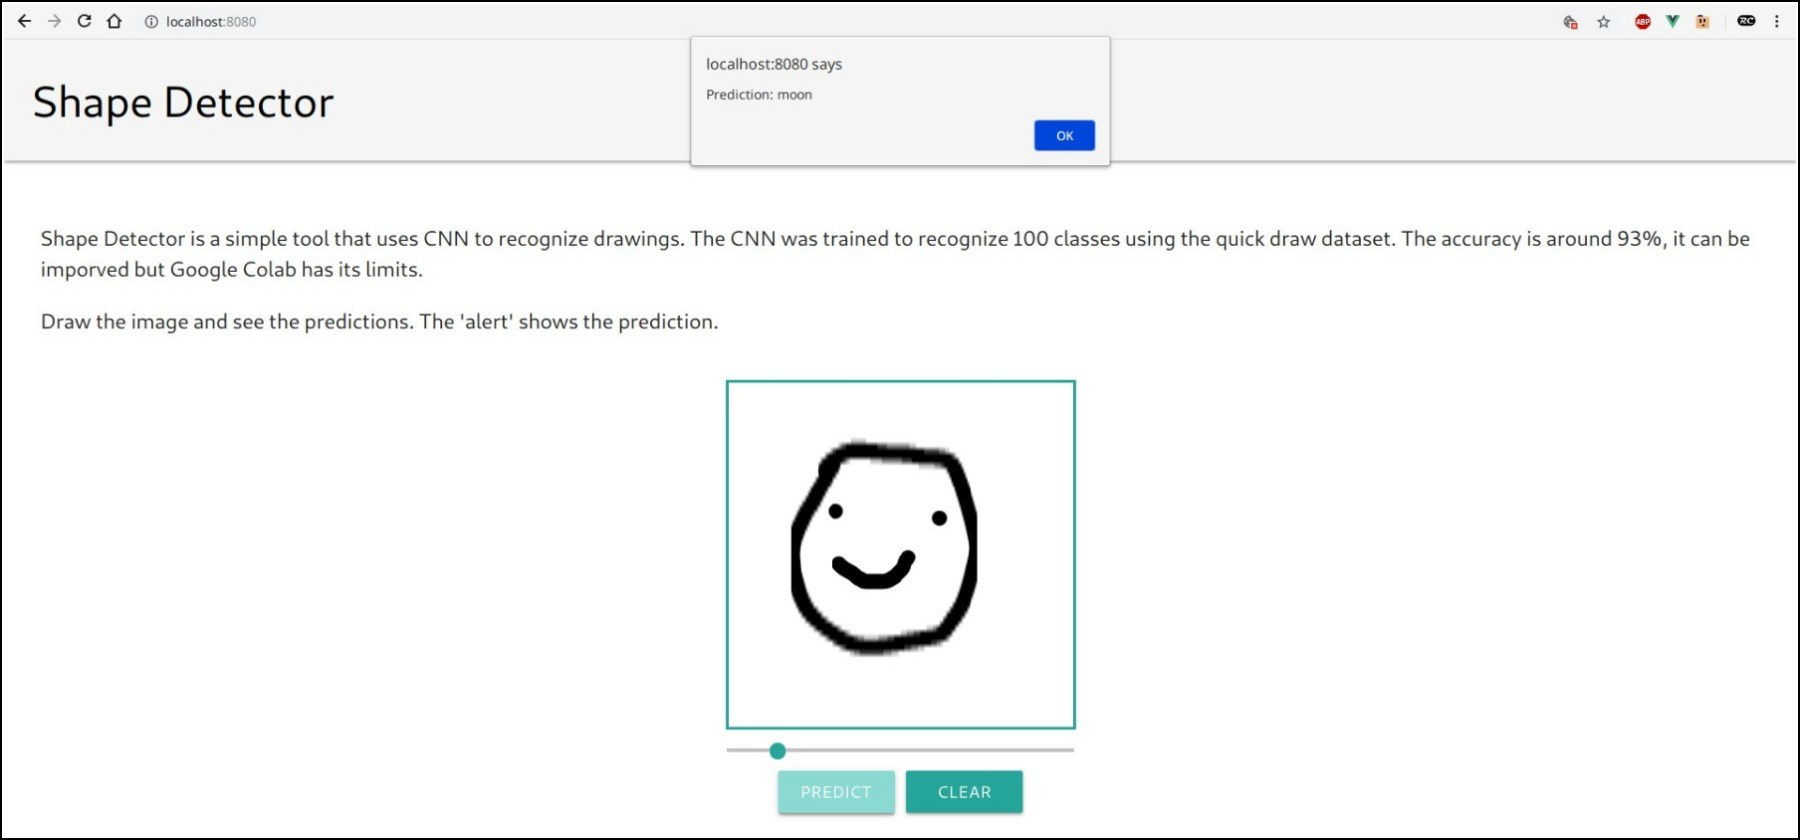 Prediction: moon
It is not always accurate.
That’s all Fellas.
The code was written in 2 days after 15 days of controlled craving to write some code, so there might be slight hiccups in the program.